Cut in Clerkenwell
5 March 2015, 22:00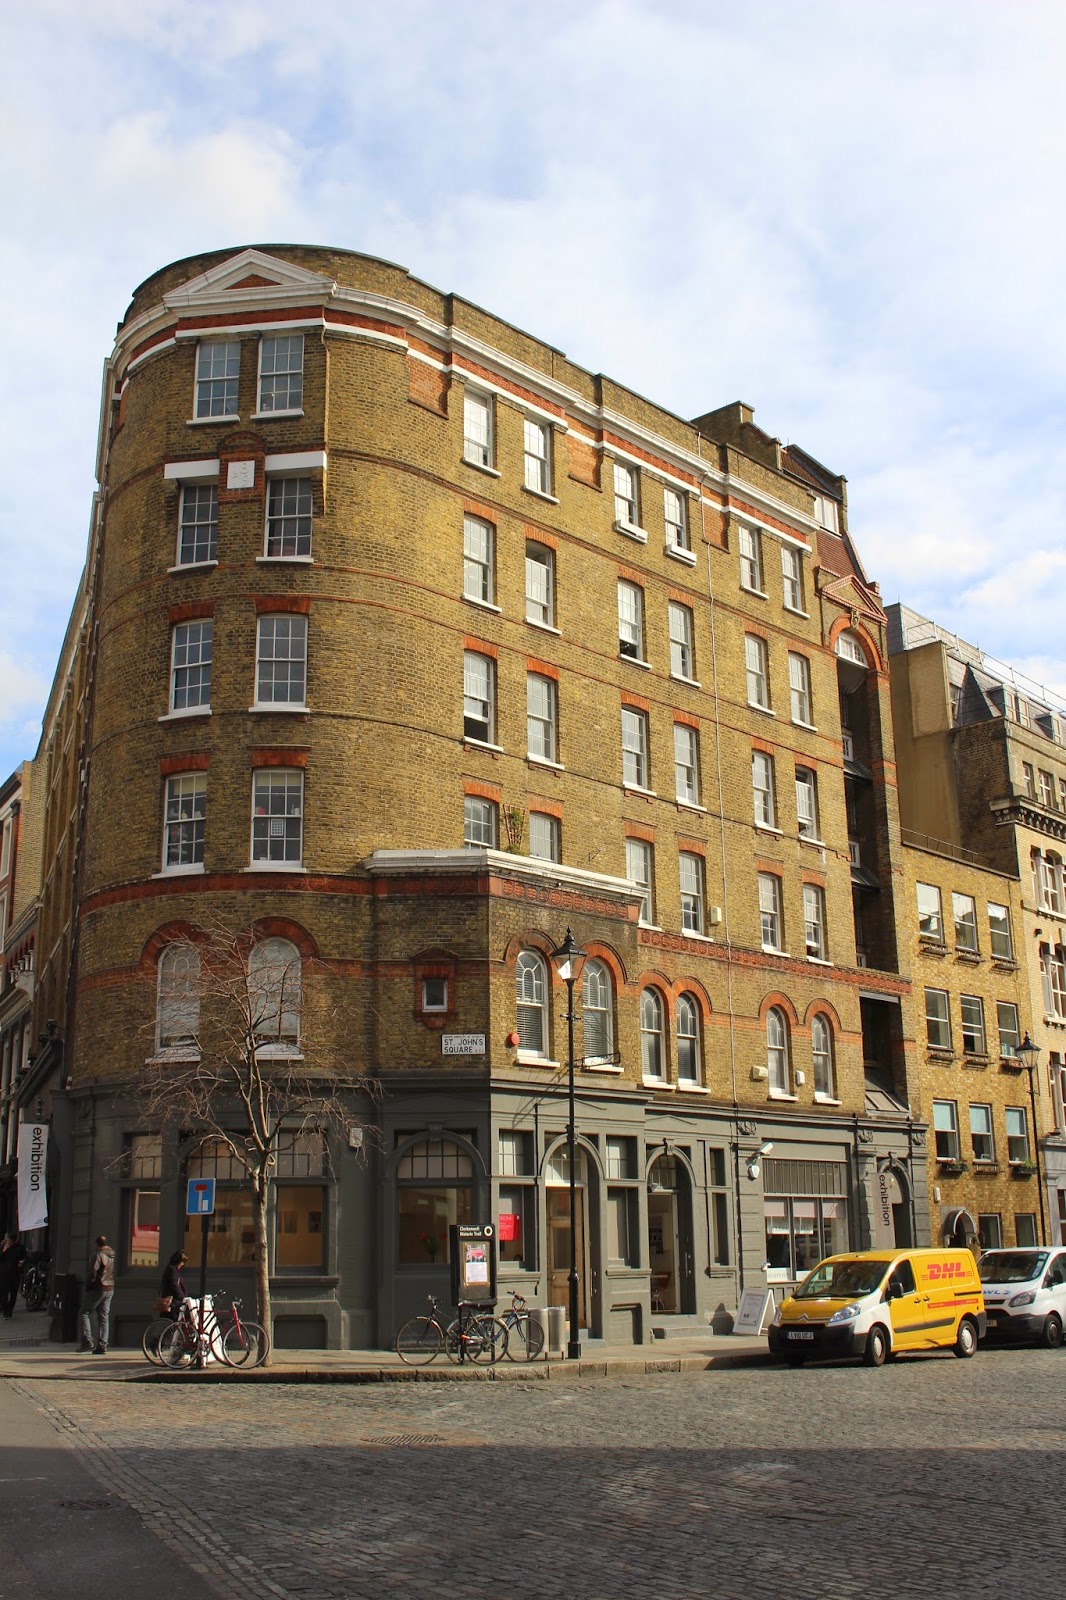 |
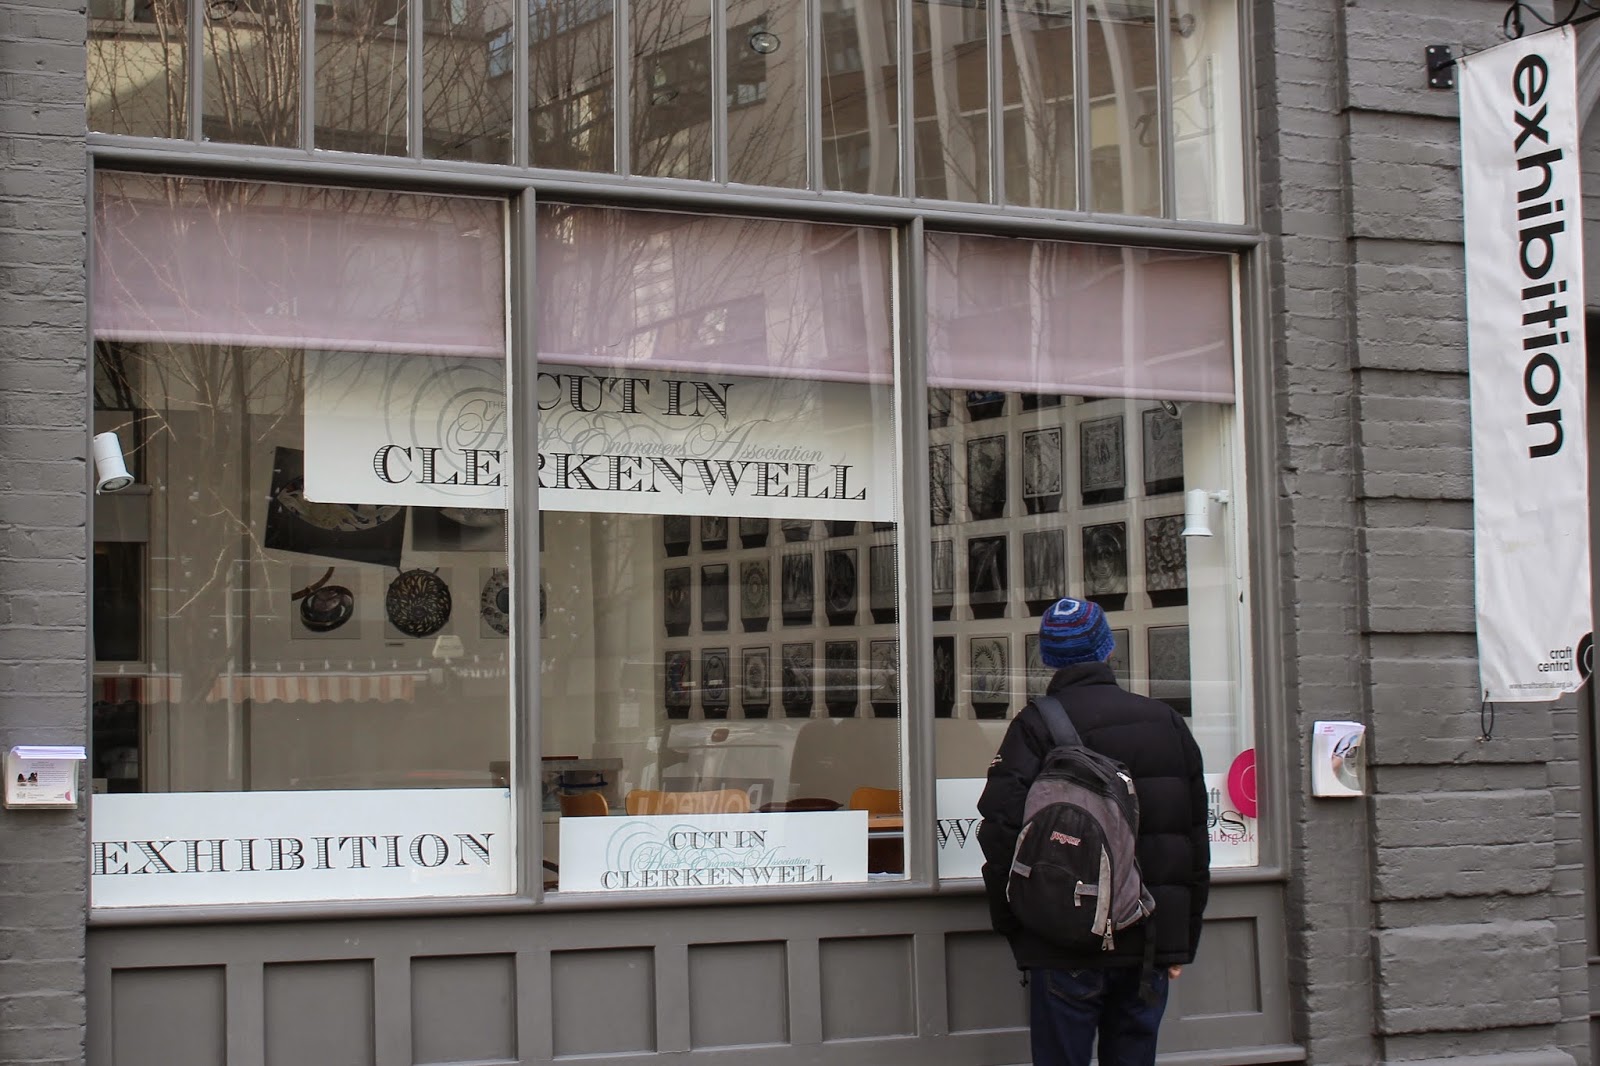
| 33-35 Saint John's Square, Clerkenwell, London EC1M 4DS |
The 'Cut in Clerkenwell' event ran from Tuesday 2nd to Sunday 8th of March 2015. The exhibition showcased engraving work and also displayed examples of the associated tools and equipment. The displays were interesting and there was just the right amount on exhibit. Often these kinds of exhibitions can be overwhelming - bombarding you with information and hundreds of artefacts - which means you need to skim over the detail. I tend to suffer what I call ‘culture fatigue’ - that feeling you might get after spending too long in a museum. This exhibition wasn’t like that at all. With a smaller display, you can be more focused in what you take in. It had been beautifully presented and there was a good cross-section of objects on display. This included examples of engraved jewellery, plates, enamelling, gun plates and knives - in a variety of different materials. The artefacts were well lit and close enough so that you didn’t have to keep bending down to see the detail. It was very well thought-out.
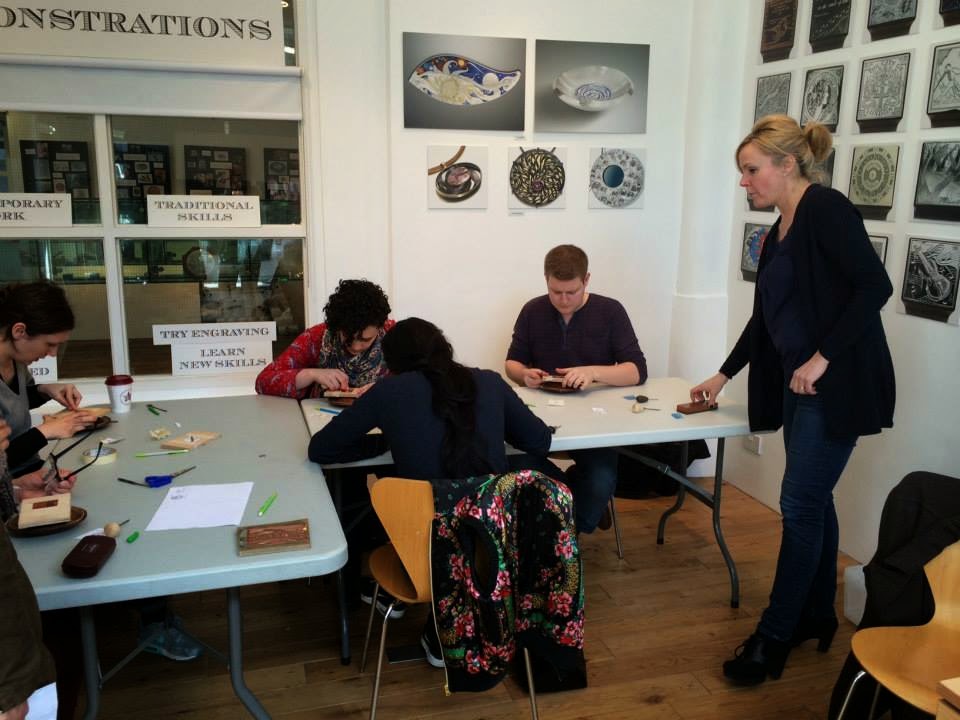
The exhibition was not just a static display. There were live demonstrations given by experienced craftsmen and craftswomen at work and they were also offering hand engraving workshops for beginners. They were doing these classes every morning from Tuesday to Friday. I booked a place on the course on Thursday 5th of March. It ran for 3 hours from 10am to 1pm. This particular class was given by hand engraver, Samantha (Sam) Marsden of Sam James Ltd.
As a professional trumpet player and teacher, I am quite used to being approached by students who are eager to learn and I have to admit that I had almost forgotten what it is like when the shoe is on the other foot. Now instead of teaching beginners, I was a beginner. It was good to remind myself of what it is like to be new to something. I was even a little bit nervous before the hand engraving class began.
The tutor, Sam, instantly put me at ease - she introduced the class by asking the five of us what had attracted us to come to the session. This served as a good starting-point, both from a social and technical perspective. It allowed an opportunity for me to introduce myself and to be introduced to others and it informed Sam as to what we were hoping to get out of the session.
In my quick introduction, I explained that I was a trumpet player and I had an interest in learning to engrave brass in order to embellish instruments. I particularly wanted to try to engrave garlands around the bell of the trumpet. I mentioned that I had already had a go at chasing brass before (on my Steinmetz Horn) and explained that I would like to be able to do hand engraving firstly on a flat plate and perhaps eventually on formed bells. Three of the other participants on my course were interested in jewellery-making and some of them were studying it at nearby universities. They wanted to learn how to hand engrave in order to set stones and perhaps to engrave designs onto jewellery as well. The other gentleman on the course wanted to learn how to engrave so that he could engrave a clock face. They were all excellent reasons to be there and it it sparked a few interesting conversations.
After introducing the main (almost sole) tool used by engravers - the graver - and demonstrating how to hold it - Sam handed out 2” square plates of copper, which we mounted onto wooden boards with masking tape. She gave a demonstration of how to use the dividers to gently score some guide lines and then she began to show the process of what she called ‘running a colour’. This involved engraving a horizontal line between two vertical guide lines. This is the basic stroke required to start with. It requires gaining a grasp of the basic position for holding the graver and learning the angle at which it will cut. It also requires control to start and finish the cut within the lines - and to flick away the swarf at the end, to make a clean exit. We began doing a whole row of these straight lines. I experienced varying degrees of success at first. Some of them went easily and others went in too deeply. The deep ones took too much effort to cut and that resulted in quite a dull-looking engraving with chattering marks inside - and a sore shoulder! I was still quite heavy handed, but the occasional one would come along and that was much better. I also had a few slips where I went way past the line - but never mind. Sam came around frequently, checking our initial progress and improving the hand position on the graver where necessary. She also explained that a right-handed person would always engrave from right to left. My second line of straight cuts was beginning to show slightly more consistent results.
I am really pleased that I attended this workshop as I really learned a lot. It was a really positive environment and the facilities were excellent. Craft Central is a great venue - and the huge windows provided a good amount of natural light - ideal for engraving. The workshop was a good combination of challenging and fun. Sam made everything very simple and offered great individual advice to each of us as the session progressed. The way she taught was logical and I took away some useful recurring themes to remember (the below instructions are tailored for a right-handed person):
The tutor, Sam, instantly put me at ease - she introduced the class by asking the five of us what had attracted us to come to the session. This served as a good starting-point, both from a social and technical perspective. It allowed an opportunity for me to introduce myself and to be introduced to others and it informed Sam as to what we were hoping to get out of the session.
In my quick introduction, I explained that I was a trumpet player and I had an interest in learning to engrave brass in order to embellish instruments. I particularly wanted to try to engrave garlands around the bell of the trumpet. I mentioned that I had already had a go at chasing brass before (on my Steinmetz Horn) and explained that I would like to be able to do hand engraving firstly on a flat plate and perhaps eventually on formed bells. Three of the other participants on my course were interested in jewellery-making and some of them were studying it at nearby universities. They wanted to learn how to hand engrave in order to set stones and perhaps to engrave designs onto jewellery as well. The other gentleman on the course wanted to learn how to engrave so that he could engrave a clock face. They were all excellent reasons to be there and it it sparked a few interesting conversations.
After introducing the main (almost sole) tool used by engravers - the graver - and demonstrating how to hold it - Sam handed out 2” square plates of copper, which we mounted onto wooden boards with masking tape. She gave a demonstration of how to use the dividers to gently score some guide lines and then she began to show the process of what she called ‘running a colour’. This involved engraving a horizontal line between two vertical guide lines. This is the basic stroke required to start with. It requires gaining a grasp of the basic position for holding the graver and learning the angle at which it will cut. It also requires control to start and finish the cut within the lines - and to flick away the swarf at the end, to make a clean exit. We began doing a whole row of these straight lines. I experienced varying degrees of success at first. Some of them went easily and others went in too deeply. The deep ones took too much effort to cut and that resulted in quite a dull-looking engraving with chattering marks inside - and a sore shoulder! I was still quite heavy handed, but the occasional one would come along and that was much better. I also had a few slips where I went way past the line - but never mind. Sam came around frequently, checking our initial progress and improving the hand position on the graver where necessary. She also explained that a right-handed person would always engrave from right to left. My second line of straight cuts was beginning to show slightly more consistent results.
It was interesting for me, as a teacher, to see the expectations that adults have of their learning. In a way adults are usually more self-conscious about succeeding than children are. One of my course-mates made a comment to our tutor. It was something along the lines of ‘Why aren't my cuts aren’t as good as yours?’ - Well of course, one can’t expect to be achieving the same quality as a professional engraver in the first three hour lesson. It’s the old 10,000 hours theory again. I wasn’t sure whether to believe that my colleague thought she would be leaving her first ever engraving lesson as a professional, or whether she was just modestly paying the tutor a compliment. I realised though, if I hadn’t been a musician that I might not have been able to relate an appreciation of what it is to have a specialised skill. What I mean is: I know how gradual a process it has been to reach my current level of proficiency as a trumpet player. I can only assume that hand engraving takes just as long to learn and is also only limited by your imagination and fuelled by your enthusiasm and how much time you are able to devote to it. I suppose if I hadn’t been a trumpet player, I might not have had anything I had learnt gradually to be able to relate it to. I am sure that the lady who asked the question has several skills of her own that were just as difficult to obtain - but the memory of the initial struggle to gain the skill fades as you improve at it. In these days of instant satisfaction - Internet searching, autotune, photocopiers, 3D printing, airbrushing and so on - we lose the appreciation that some things take a lot of time to develop and that there are no shortcuts to obtaining such a skill. Practice is the key element and I could draw a lot of parallels between engraving and trumpet playing. Anyway, I found it very interesting to think about it and I realised that I had thought all of the above, while my hands were guiding the graver with slightly improved accuracy. I was showing signs of improvement. I wasn’t too concerned by my wandering concentration - though I was pleased that I hadn’t stabbed myself with the graver. I was also pleased that I was able to engrave and think about other things - it can be quite relaxing. I was encouraged by the fact that the technique of engraving a straight line was beginning to be stored (unconsciously) in my muscle memory.
Next, Sam demonstrated how to make curved cuts. Her demonstration was beautiful and exceptionally neat. This time, she cut horizontal arcs between the vertically scored lines. I had always assumed that you would move the tool to make a curved cut - however you actually move the work past the tool. The tool feels like it remains fairly stationary. That is why the leather sand bag that you rest the wooden board on is an important piece of equipment. It gives you the clearance you need from the desk to get your hand into the cutting position and it allows you to rotate and guide the work as you make the cuts. On the straight line exercises I used the left hand to securely hold the work. Now I was using it in collaboration with the other hand. The coordination came surprisingly quickly and I was able to hold the graver with the required pressure to guide the work past it.
Sam came round again, inspecting our work-in-progress and giving us feedback. I noticed that she gave nearly all of us the same advice this time. That was to angle the tool slightly to the right - i.e. to tilt the tool away from us (to the outside of the curve). This means that there is more tool in the cut and it gives a nice chamfered edge on the top side of the cut. [N.B. We were still cutting from right to left]. Tilting the tool like this a crucial piece of advice. I had it in my imagination that this tilt allowed the point of the tool to be free from too much pressure - avoiding it digging in. It is, after all a straight tool - and you are trying to cut a curved groove. Obviously the tool has to be used in a slightly different way. With more pressure on the side of the tool I think it means that the straight leading edge of the tool can behave more like it is curved. Whether my idea is technically correct doesn’t really matter - it helped me to visualise the idea. Sam’s tip certainly paid dividends. In a way, I learnt as much about cutting straight lines as I did about cutting curved ones, as I now had a more developed idea of how the graver performed in various circumstances.
We stopped for a tea break and viewed a few examples that the other engravers present had been working on. There was a teenager there who was working on a plate of the Taj Mahal - which looked excellent. She began learning to engrave in September and is making rapid progress. An engraver called Duncan Baird-Murray was assisting Sam and he came around a couple of times to see how we were all getting on and offered helpful advice too. Another engraver named Angus McFadyen had brought a silver vase which he had been engraving. It was absolutely exquisite - I have never seen anything as beautiful in metal - and it’s not even finished yet! Sam showed it to us and explained how some of it was done. There were engraved recesses that had been filled with gold in certain places, and there were millions of engraved swirls around the rest of the vase. Having developed an appreciation of the skill involved, I was staggered by this piece. He told us a few anecdotes and raised a few laughs - he is quite a character!
Tracing a design onto a piece to be engraved was the next process. Sam had photocopied a line drawing of a horse and she gave us each a copy. We cut it out and used plasticine to coat the back of the piece of paper with a waxy film. We used masking tape to fix the design in place and then used a scriber to go over the lines on the horse on the front of the page. This transferred the wax to the metal behind. The next step was to gently etch the waxy lines onto the metal with a scriber, as the waxy lines could have easily rubbed off. Some of the lines were quite thick on the drawing of the horse, so we chose a centre line on the thicker lines. Sam showed us how to make thickened lines by going close to the same cut several times. I suppose this would give a cut with a cross section of a 'W' shape.
We then set about engraving our plates and Sam was on hand to help if needed. I worked on the plate and learnt a few things as I went. I made a few slips, as expected, but I was generally content with how it was going. Both Duncan and Angus were interested to see how we were getting on too. Angus asked to see my engraving and he said that it was good for a first attempt - which was a promising comment. While I was talking to Angus, someone from the Association took some photos for their social media channels - which provided a nice record of the workshop event.
 |
| Photograph courtesy of the Hand Engravers Association. Used with permission. Facebook: www.facebook.com/handengravers - website: www.handengravers.co.uk |
 |
| Course participants with course leader Sam Marsden (Right). Photograph courtesy of the Hand Engravers Association. Used with permission. Facebook: www.facebook.com/handengravers - website: www.handengravers.co.uk |
Before the workshop ended, I asked a few questions about sharpening the tools. I decided that I was more interested in leaving with the information that I would need to continue than in leaving with a finished plate. I knew that it would be difficult to sharpen the tools at home without supervision and I was aware that while I was engraving with a properly sharpened tool - in many ways, the work teaches you how to do it. If it goes well, you carry on doing what you are doing and if it goes badly, you avoid doing that again. However, with sharpening it is a different story. I think it would be quite easy to run rings around yourself if you don’t have a good idea about the sharpening rituals. Of course the angles are crucial. I asked the engravers present if they used fixtures to secure the tool, all three of them said that they do it by hand. Of course, this is another skill to learn. Sharpening by hand gives the engraver the freedom to customise the way that each tool is sharpened. Sam gave me a demonstration and showed the sharpening process on one of the unsharpened tools that I had brought with me. Sam, Duncan and Angus were interested to see the various tools that I have bought from eBay and the ones that my Dad and I had made from Vallorbe graver blanks. Sam sharpened one for me to see the process. I have yet to replicate it as well as she did it, but I will continue to try over the next few days. I am sure it just takes practice and I am quite happy to devote one tool to practicing on - which I may well ruin - but I will learn along the way.
I finished engraving the horse plate and Sam suggested that I try ‘running a colour’ again to see how my control of the tools had improved compared to the beginning of the workshop. I was a lot more consistent and able to get the graver to do more of what I wanted. Of course, this is going to be a continual process of improvement. Below is my first attempt at the horse plate. It's a bit rough and ready, but I think that is to be expected in the first lesson.
I finished engraving the horse plate and Sam suggested that I try ‘running a colour’ again to see how my control of the tools had improved compared to the beginning of the workshop. I was a lot more consistent and able to get the graver to do more of what I wanted. Of course, this is going to be a continual process of improvement. Below is my first attempt at the horse plate. It's a bit rough and ready, but I think that is to be expected in the first lesson.
 |
| The first attempt - practice plate. |
I am really pleased that I attended this workshop as I really learned a lot. It was a really positive environment and the facilities were excellent. Craft Central is a great venue - and the huge windows provided a good amount of natural light - ideal for engraving. The workshop was a good combination of challenging and fun. Sam made everything very simple and offered great individual advice to each of us as the session progressed. The way she taught was logical and I took away some useful recurring themes to remember (the below instructions are tailored for a right-handed person):
- On the curves: move the work, not the graver and tilt the right hand side of the tool away from you on the arcs.
- Always cut in an arc from right to left - it flows better and keeps your wrist in a comfortable position.
- Avoid pressing too hard.
- You can wiggle the tool if necessary (though I found I didn't need to, after a while).
I enjoyed the engraving workshop and I am willing to put in the work to improve at it. Living in London, engraving is one of the few things that I can learn to do in a small space and with remarkably few tools. It’s also quite a clean task, unlike most jobs involving making brass instruments. This workshop session was exactly what I needed. It was informative and fun, and there wasn't any pressure or stress about it. It was fantastic and I would like to thank the HEA for organising the class and to Sam for running this particular workshop. I would definitely like to go to another session in the future, hopefully with some of my own examples to show.
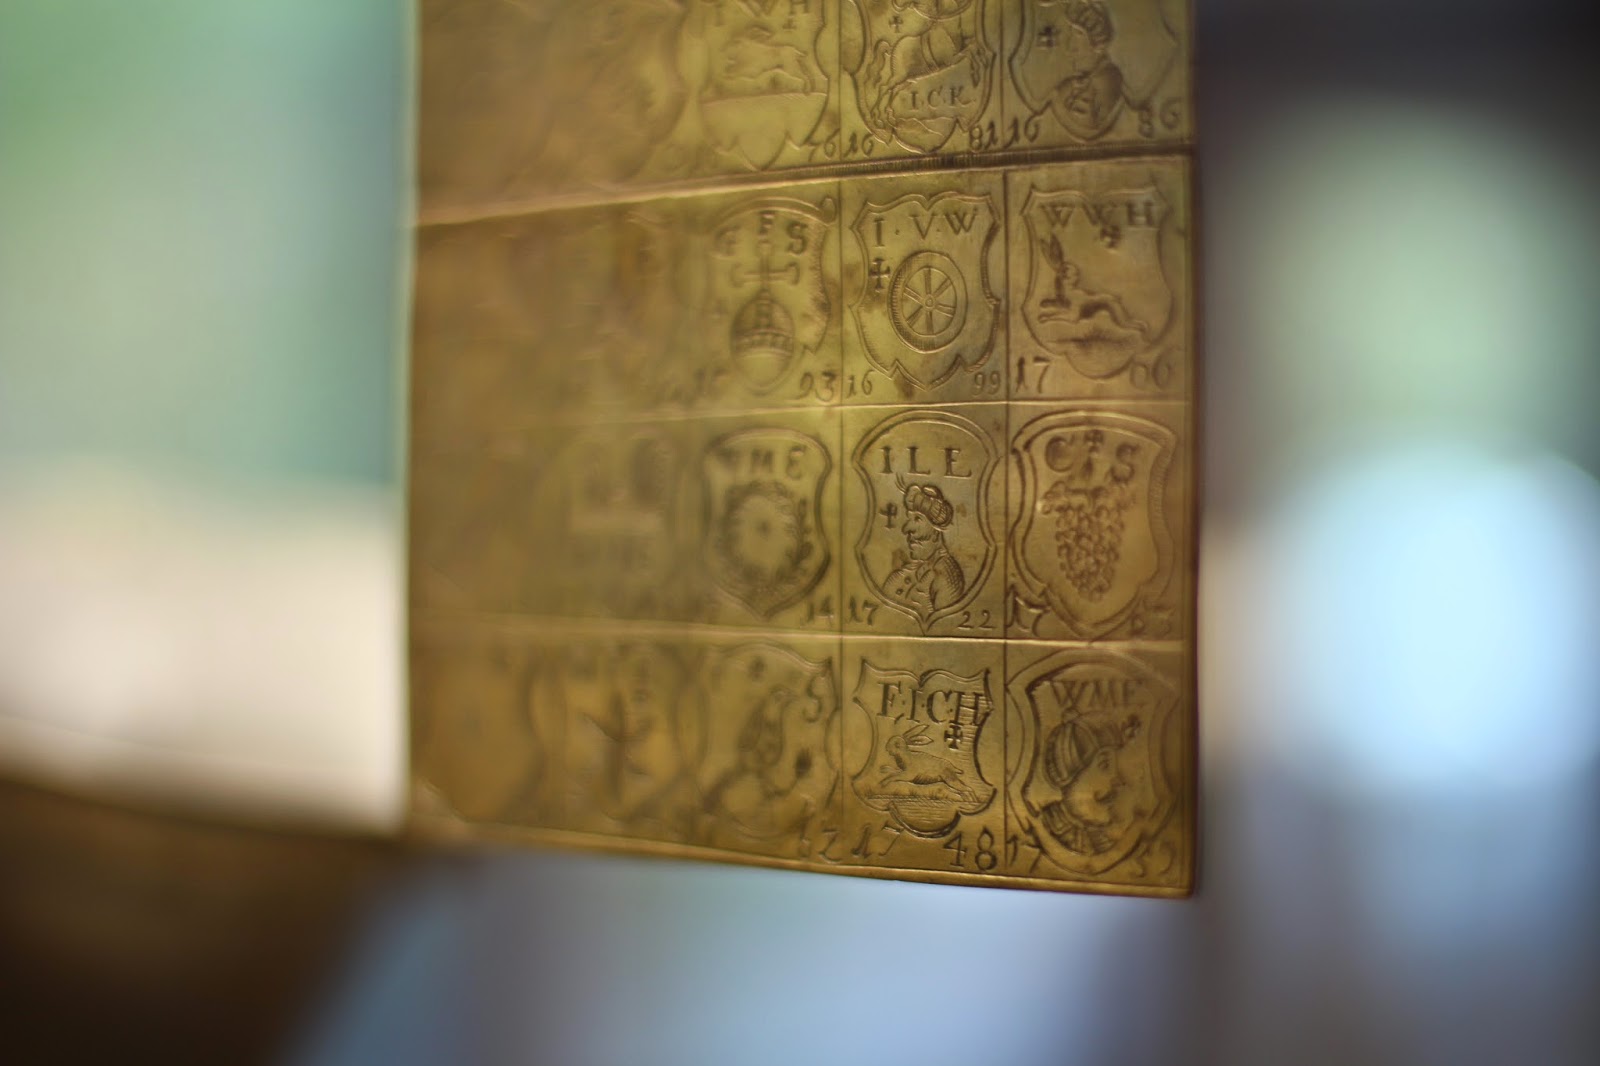
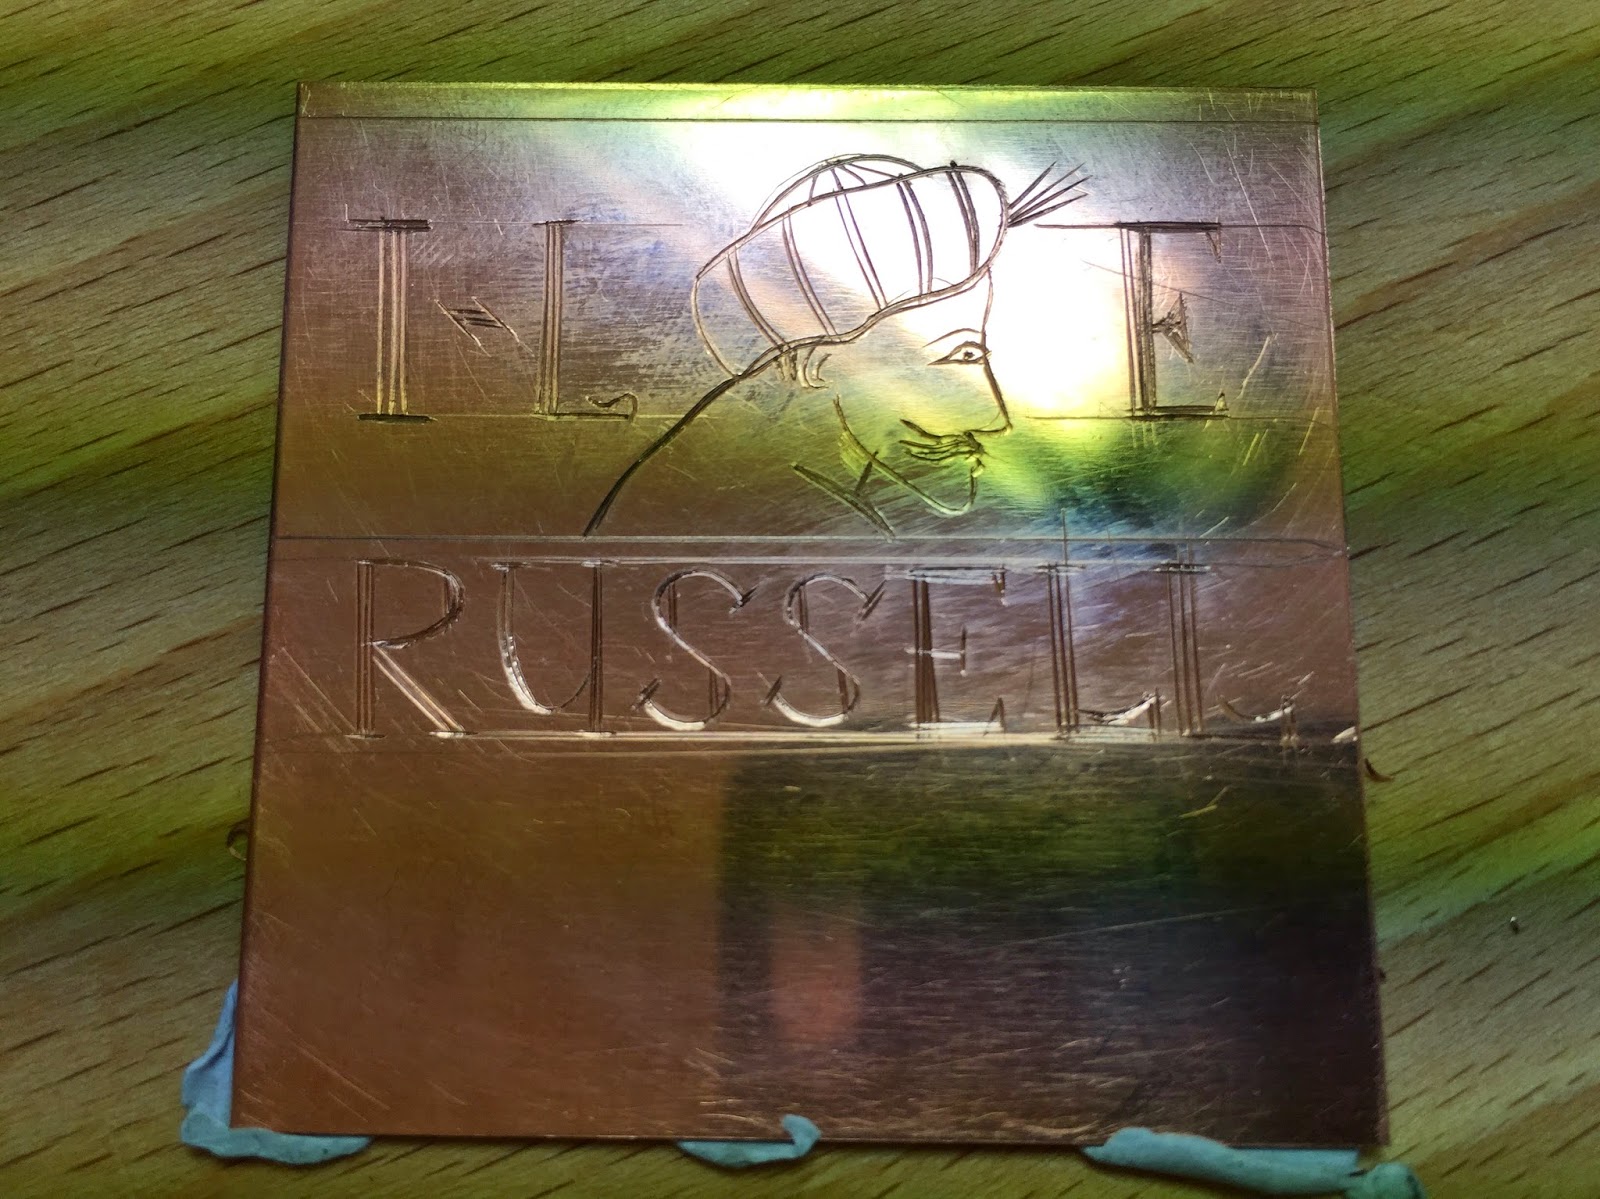
The following day, I practiced engraving the Meisterzeichen (maker’s mark) from the Ehe family of 18th century Nürnberg trumpet makers. The symbol is a Turk’s head, and I was quite pleased with my first attempt at ‘going solo’. I’m looking forward to engraving on brass next and then I will have a go at engraving a garland and see how it goes.
The following day, I practiced engraving the Meisterzeichen (maker’s mark) from the Ehe family of 18th century Nürnberg trumpet makers. The symbol is a Turk’s head, and I was quite pleased with my first attempt at ‘going solo’. I’m looking forward to engraving on brass next and then I will have a go at engraving a garland and see how it goes.
 |
| Johann Leonhard Ehe III - Meisterzeichen - 5 pence piece included for scale |
This is what I would like to be able to do: (Imagine it when it is clean!)

The image above is a modern copy of the engraving from one of the Ehe III - bishop's trumpets - now housed in the German National Museum in Nürnburg. The Meisterzeichen on these instruments is slightly different to the Meisterzeichen engraving on a plate featuring all of the Nürnburg brass makers' marks. This plate now resides at the Musical Instrument Museum in Berlin.
 |
Russell Gilmour

writing on music, photography, engraving, travel and life as a freelance professional musician.
Russell Gilmour's innovative new book, 'Just' Natural Trumpet, is now available: please click here for more information.

Aurora Orchestra
Bach
Baroque
Baroque Style
BBC Proms
Beethoven
Berlioz
Biber
Brandenburg
Brandenburg Baroque Soloists
Brass Instrument Making
Broadcast
Chronicles
Classical
Concert
Cornetto
Education Outreach
English Slide Trumpet
Engraving
Festival
France
Germany
Gorczycki
Guts and Glory
Göttingen Handel Festival
Handel
Haydn
Historic Royal Palaces
Horn
Instrument
Instrument Making
Interview
Isle of Man
Keyed Trumpet
Kuhnau
Le Concert Lorrain
Lecture
Leipzig
Les Talens Lyriques
London
Masterclass
Modern Trumpet
Monteverdi
Mozart
Museum
Music
Natural Trumpet
Natural Trumpet Courses
OAE
OAEducation
Opera
Orchestra of the Eighteenth Century
Oxford
Period Costume
Photography
Poland
Purcell
Radio Broadcast
Recording
Renaisannce
Review
Royal Academy of Music
Royal Society of Musicians
Schelle
Schütz
Shakespeare
Solomon's Knot
Spain
Spiritato!
St. Martin-in-the-Fields
Switzerland
Taverner Consort
Teaching
Telemann
The English Concert
The Netherlands
The Section
Tour
Touring
Toyota Classics Tour 2018
Travel
Trumpet
Trumpet and Organ
Venice
Ventless
Vivaldi
Vox Luminis
Wedding
Wigmore Hall
Workshop
Wrocław Baroque Orchestra
York
Zelenka
Zugtrompete
‘Just’ Natural Trumpet